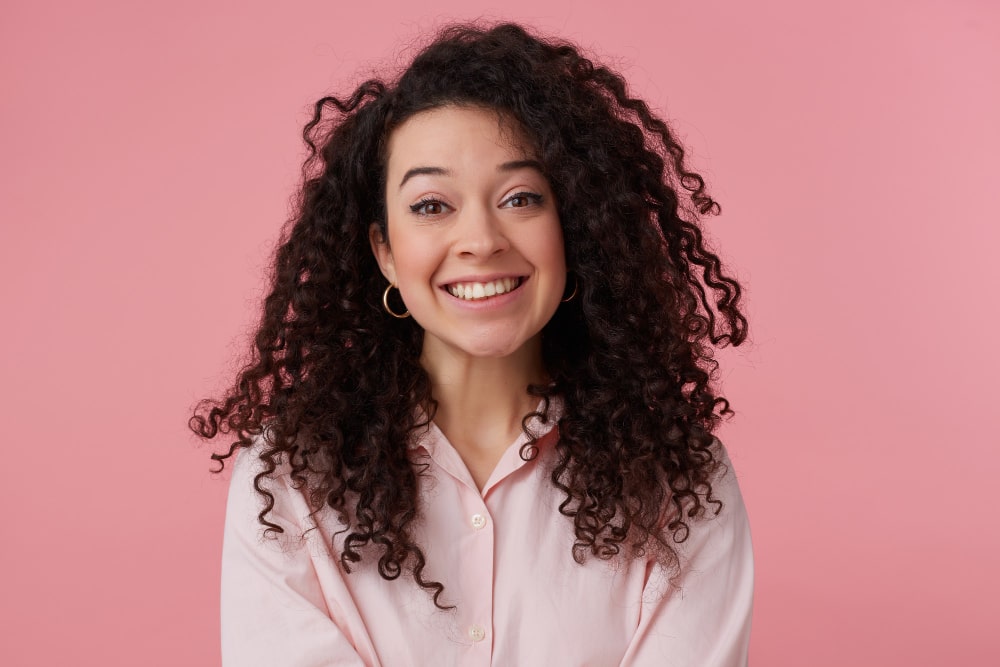
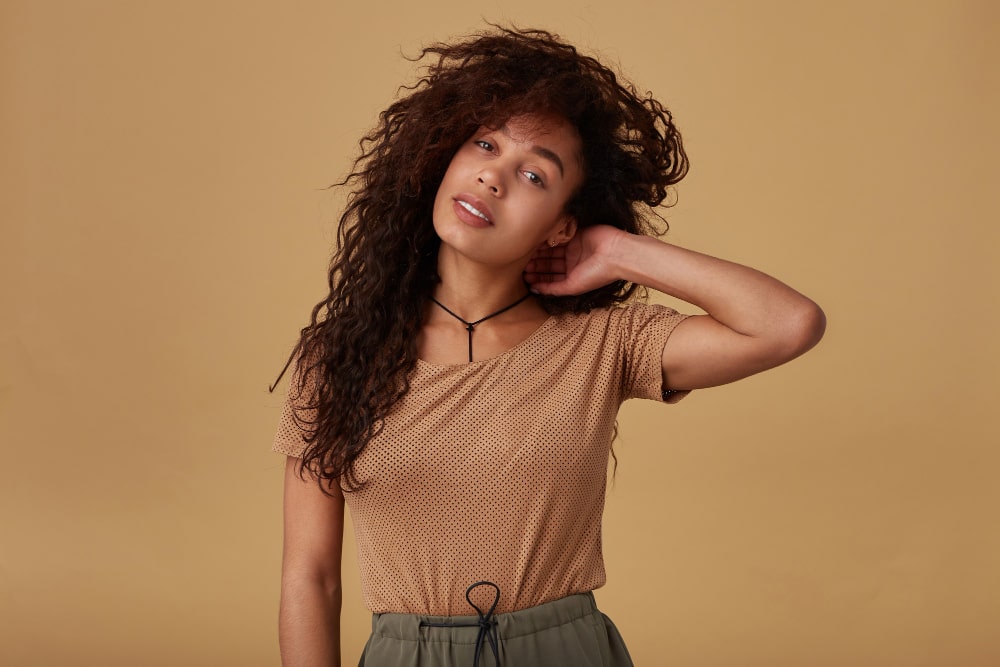
Diffusing is a common hair drying technique that curly-haired individuals swear by. It helps to maintain the natural poise and elegance of your curls while adding a touch of volume and bounce. This article will guide you step-by-step on how to diffuse curly hair, why use It, and choosing the right diffuser for your curly hair.
What is a Hair Diffuser and Why Use It?
A hair diffuser is an attachment for your hairdryer. It works by distributing the air evenly to dry your curls delicately, preventing them from getting frizzy. Regular hairdryer attachments, on the other hand, blast air directly at your hair, which can lead to a disarrayed cuticle structure causing increased frizz. Diffusers create volume and offer definition, making your curls look voluminous and bouncy.
Choosing the Right Diffuser for Your Curly Hair
There are countless diffuser models available, so the best one for each person will largely depend on their hair length and type. The Xtava Black Orchid Diffuser is popular among those with long curly hair due to its large bowl that can hold more curls for better definition and volume. The Curly Co. diffuser is great for shorter hair and is travel-friendly because of its lightweight and collapsible structure.

Read More: Can Depression Cause Hair Loss?
Diffusing Curly Hair: A Highlight on Hair Texture
Generally, diffusing curly hair will provide adequate volume and bounce. However, if you have thin and fine hair, the results might not be as voluminous as you’d wish. In such cases, you can employ a few tricks to create more volume. One method is to diffuse your hair upside down – this helps to lift your roots and create the illusion of more hair. Root clipping can also help create volume right from the scalp.
Step-By-Step Guide to Diffuse Curly Hair
Step 1: Preparation
The first step in diffuse curly hair is to start with clean, conditioned hair. Apply your preferred styling product evenly, ensuring that all the strands have been covered.
Step 2: Begin Diffusing
Tilt your head to one side, pick a small section of your hair, and place it into the bowl of your diffuser. Gently lift the diffuser up to your scalp before turning the hairdryer on. Hold in this position for about thirty seconds.
Step 3: Repeat the Process
Turn off the hairdryer, select another small section of hair, and repeat the above process. Continue this technique by flipping your hair to the other side and then flipping your head forward, diffusing each time.
Read More: Does Metformin Cause Hair Loss: Fact or Fiction?
Step 4: Enhance Definition (Optional)
Once your curls are mostly dry and have begun to set, you can apply more product to enhance curl definition. This technique, known as ‘Smasters’, involves adding a small amount of product mixed with water and lightly scrunching your hair towards your scalp.
Step 5: End and Air-Dry
When your hair is 80-90% dry, end the diffusing process and allow it to air dry for the remaining percent.
Step 6: ‘Scrunch Out The Crunch’
Once your hair is entirely dry, you might notice a ‘crunchy’ texture caused by your hair products. Flip your head forward and gently scrunch your hair upwards once more to break this cast and introduce extra volume.
Step 7 Post-diffusing care:
Apply your preferred serum or oil to your hair to moisturize and add shine. This will also help in reducing any frizz.
Read More: Can Hair Dye Cause Hair Loss? A Comprehensive Guide
Practicing Proper Hair Care
Even as you master the art of diffusing, remember that proper hair care is vital. Ensure you hydrate and moisturize your curls regularly, indulge in deep conditioning treatments, and minimize the use of heat styling tools. All these steps contribute to healthier, shinier, and bouncier curls. Also, trim your hair regularly to get rid of split ends and foster healthy hair growth.
Preserving your Curls Overnight
Post-diffusing, preserving your curls overnight is equally important to maintain your curly hair structure. You can opt for a simple solution like a loose pineapple, which involves gathering all your hair onto the top of your head in a loose ponytail. Using a silk scarf or a satin pillowcase can also help reduce friction and help maintain the curl definition.
Keyset Dryers – Notable Alternatives to Diffusers
For those struggling with hand fatigue from the diffuser or just want a hands-free drying experience, consider exploring a Keyset dryer. They are commonly known as hooded dryers where you can sit while your curls dry. Keyset dryers provide even distribution of heat similar to a diffuser and can be a good investment for a curly-haired individual.
Read More: Shampoos That Cause Hair Loss in 2023: A Comprehensive Guide
Conclusion
Learning how to diffuse curly hair can seem intimidating at first but just like any other skill, over time and with practice, the process becomes easier. Remember, everyone’s hair is uniquely beautiful in its own way, so results will differ from person to person. However, by learning to diffuse properly, your curly hair can achieve ultimate volume and definition with minimal frizz.
FAQs
Generally, you should start with a lower heat setting and increase as needed. For fine or thin hair, continue using low heat to prevent damage.
Not all hair dryers are created equal. It’s best to use one that has adjustable heat and speed settings for better control. Besides, the hairdryer must have a diffuser attachment or be compatible with an independent diffuser you might purchase.
The best diffuser for curly hair varies depending on hair length and density. The Xtava Black Orchid is a top pick for long curly hair, while the Curly Co. diffuser is lauded for short hair.
The time may depend on the length, density of your hair, and the desired dryness level. It typically ranges from 20 minutes to an hour.
If performed correctly, diffusing should not damage your hair. However, excessive heat can potentially cause heat damage over time. Hence, it’s advised to use lower heat settings and always apply a heat protectant before starting the process.
Yes, an additional product can be added midway of the diffusing process, especially if you wish to enhance curl definition. This technique is commonly known as ‘Smasters’.
While it’s not a must, flipping hair during diffusing can add lift and volume to the roots. By alternating the direction you diffuse in, you can get more natural-looking volume.

